

Table of Contents
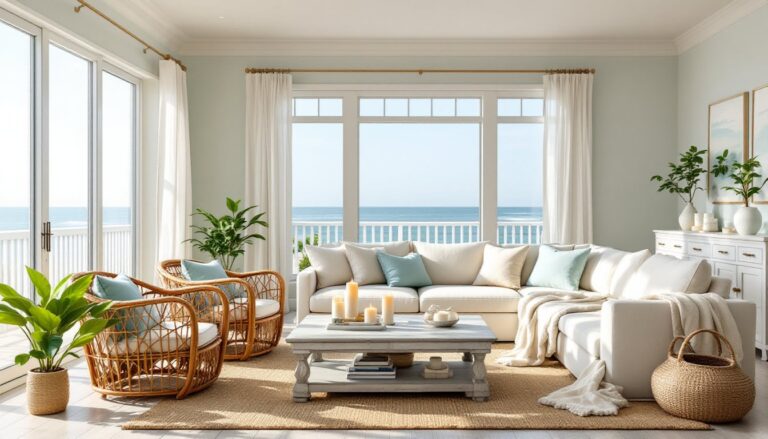
ToggleA patio furniture bar transforms a standard outdoor space into an entertaining hub where friends and family gather to relax. Whether you’re hosting summer cookouts or enjoying quiet evenings with a drink in hand, a patio bar adds both function and style to your backyard. From sleek portable carts to custom-built installations, patio bars come in countless configurations to fit your lifestyle, budget, and design preferences. This guide walks you through the options, materials, and practical setup steps to help you create an outdoor bar that fits your space and entertaining needs.
Key Takeaways
- A patio furniture bar serves as both a functional entertaining hub and a focal point that anchors your outdoor living space, keeping beverages and tools organized while encouraging regular use of your patio.
- Portable bar carts and tables offer flexibility for renters and smaller patios, while built-in bar installations provide permanent structures with greater storage and capacity for larger entertaining needs.
- Material selection matters for durability and maintenance: teak and aluminum resist weather well, while wood tops require seasonal sealing and metal frames need rust prevention to maintain long-term appeal.
- A functional patio bar can be set up on a budget by starting with a sturdy base ($150–$600), stocking practical glassware, and phasing in upgrades rather than investing thousands upfront.
- Regular maintenance—including seasonal wood sealing, metal frame rinses, and proper drainage—keeps your patio bar looking attractive and functioning well for years of entertaining.
Why Add a Bar to Your Patio
A patio furniture bar serves multiple purposes beyond the obvious cocktail-mixing station. It anchors your outdoor entertainment zone and creates a focal point that draws people together. Unlike pulling out a cooler or setting drinks on a side table, a dedicated bar keeps beverages, glassware, and garnishes organized and accessible, saving you trips inside.
From a design standpoint, a bar adds intentional structure to your patio layout. It signals that your outdoor space is ready for entertaining, which encourages you to use it more often. Many homeowners find that adding a bar motivates them to invest in better seating, shade, and lighting, transforming an unused corner into their favorite room of the house. Functionally, a well-stocked bar keeps hands free and conversations flowing, since the host isn’t constantly running indoors for ice or glasses.
Types of Patio Furniture Bars
The bar you choose depends on your space, permanence goals, and budget. Some people want flexibility to move their setup seasonally, while others are ready to commit to a fixed installation. Understanding your options helps you pick the best fit.
Portable Bar Carts and Tables
Portable bar carts are the quickest entry point into outdoor entertaining. These typically measure 24–36 inches wide and 30–48 inches tall, with a wheeled base and two to three shelves. They’re ideal for renters, smaller patios, or anyone who wants to relocate their bar for different events. A cart stores wine bottles on the lower shelf, spirits and glassware on the middle level, and a mixing station on top. Many carts feature a stainless steel frame that resists rust when stored outside.
Bar tables offer a more permanent feel while still remaining mobile. These typically span 36–48 inches wide and 36–42 inches tall, roughly counter height for comfortable drink mixing. Unlike carts, tables provide a single solid surface for working, which is easier for batch drinks and gives your bar a more intentional appearance. Look for tables with a weather-resistant wood top (teak, cedar, or composite) paired with a metal frame.
The advantage of portable options is flexibility: you move them indoors or under cover during harsh weather, and you’re not committed to a single spot. The tradeoff is reduced storage and a smaller work surface compared to built-in bars.
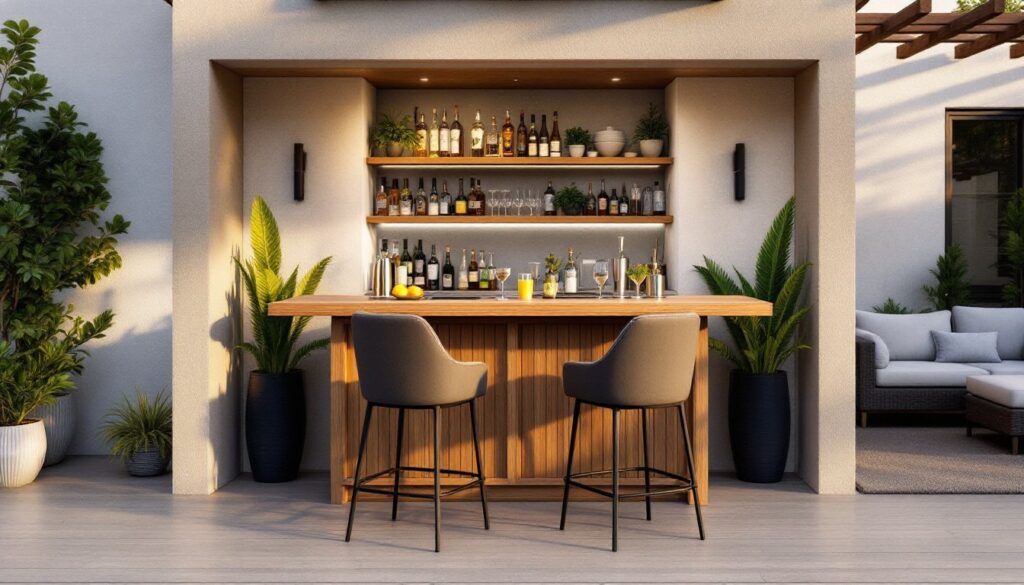
Built-In Bar Installations
Built-in bars are permanent structures that anchor your outdoor living space. These range from simple modifications to existing structures (adding a shelf and counter to a garden wall) to custom-built standalone stations with footings and electrical connections. A basic built-in bar typically includes 36–48 inches of counter depth and 24–36 inches of depth front to back, matching standard kitchen dimensions.
Built-in installations handle more complex tasks: batch cocktails for larger crowds, iced water dispensers, beverage coolers, and even integrated grills or smokers. They accommodate storage below the counter, sealed cabinetry, open shelving, or both. Many include a backsplash (tile, stone, or composite) to protect the wall behind and add visual interest.
Built-ins require more planning. You’ll need to ensure proper drainage (especially for areas that get rain), consider utility access (water, gas, or electrical), and verify local building codes if you’re installing permanent structures. A structure with a roof or overhead covering extends usability into light rain and provides shade for your bartender. This category is where permits and licensed contractors often enter the picture, depending on your jurisdiction and the complexity of the installation.
Design Styles and Materials
Your bar’s materials and finish set the aesthetic tone for your entire patio. Common styles break down into a few recognizable directions.
Rustic and farmhouse designs lean on reclaimed or distressed wood paired with wrought iron or vintage brass accents. Think weathered barn wood countertops with cast-iron bar stools and lantern-style lighting. This look works well with country-style decor trends and pairs nicely with natural stone patios or gravel surfaces. Maintenance is straightforward: sealed wood and powder-coated metal age gracefully and hide minor wear.
Modern and minimalist bars favor clean lines, stainless steel, and composite materials like quartz or concrete tops. A sleek bar cart with a slim profile and matte-black frame fits this category, as does a built-in bar with a concrete countertop and integrated LED lighting underneath the overhang. This style demands frequent cleaning to maintain its polished appearance but works beautifully in contemporary homes.
Tropical and resort-style installations use teak, rattan, and bright accent colors. Bamboo elements, woven bar stools, and a thatched or louvered roof overhead create that vacation vibe. This style is forgiving of weathering since the aesthetic embraces natural patina.
For materials, consider your climate and maintenance tolerance:
- Teak wood: Naturally rot-resistant and weathers to a silver-gray finish. Expensive upfront but requires minimal maintenance beyond occasional oiling if you want to restore the original color.
- Cedar: Aromatic, attractive, and moderate cost. Needs periodic sealing to prevent rot in humid climates.
- Composite or pressure-treated lumber: Budget-friendly and low-maintenance, but less refined aesthetically. Composite doesn’t rot and rarely splinters: treated wood can be stained.
- Metal frames (steel, aluminum): Aluminum resists rust better than steel but dents more easily. Powder-coated finishes last 5–10 years before chalking or chipping in harsh weather.
- Countertop surfaces: Sealed granite, quartz, and tile are durable and easy to clean. Concrete is trendy but stains easily and requires sealing. Wood tops need regular maintenance but develop character over time.
Setting Up Your Patio Bar on a Budget
You don’t need thousands of dollars to build a functional patio bar. A practical approach prioritizes essentials and phases in upgrades.
Start with a sturdy base. A simple bar cart ($150–$400 depending on materials) or a solid outdoor table ($200–$600) covers this step. Look for powder-coated metal frames and weather-resistant wood. Avoid flimsy designs that wobble or tilt.
Stock glassware smartly. You don’t need every specialty glass. A set of durable acrylic or polycarbonate tumblers (cheaper than glass and shatter-resistant) costs $20–$50 for a set of eight. Add a few wine glasses and high-ball glasses in glass if you prefer the look for guests, but acrylics are practical for everyday use. An insulated ice bucket or cooler nearby keeps drinks cold without constant runs indoors.
Add basic tools. A quality bar spoon, jigger, mixing glass, and bottle opener run $30–$60 total. Avoid gimmicky multi-tools: simple stainless steel tools last decades. Cocktail picks and a bar towel round things out affordably.
DIY where possible. If you have basic carpentry skills, you can build a simple bar frame from 2×4 lumber and plywood (around $100–$200 in materials) and top it with a sealed wood or composite surface. Instructables hosts countless DIY bar plans with step-by-step photos. A minimal built-in, essentially a shelf and countertop added to an existing fence or wall, saves money versus a freestanding structure.
Phase in aesthetics. Weatherproof outdoor rugs, lighting, and decorative elements come later. Start functional, then upgrade finishes as budget allows.
Location matters for cost. Placing your bar near an existing structure (house wall, fence, pergola) reduces the amount of new infrastructure needed. An under-cover location extends usability and protects bottles and glassware from UV damage and rain.
Maintenance Tips for Long-Lasting Appeal
A patio bar exposed to sun, rain, and temperature swings needs regular care to stay functional and attractive.
Wood surfaces require seasonal attention. Sealed wood tops should be cleaned with mild soap and water, dried thoroughly, and re-sealed annually (or every 18–24 months, depending on your climate and sunlight exposure). Inspect for soft spots or mold, especially in humid regions. Teak naturally silvered and doesn’t require sealing, but cedar and treated lumber do. Apply a water-resistant sealant in spring and after any harsh weather.
Metal frames and hardware benefit from a rinse and dry routine. Powder-coated surfaces resist rust but can chip if dented: touch up scratches to prevent rust spread. Aluminum doesn’t rust but oxidizes over time: a gentle polish keeps it shiny. Stainless steel exposed to salt air (coastal properties) needs more frequent care, wipe down monthly with a slightly damp cloth and dry immediately.
Stone or tile countertops are nearly maintenance-free. Wipe up spills promptly, seal grout annually if applicable, and avoid acidic cleaners that etch natural stone. Concrete sealer should be reapplied every 1–2 years to prevent staining and water absorption.
Glassware and tools stored outdoors should be brought inside or covered during winter in cold climates. Extreme temperature swings can stress glass and weaken metal connections. Keep bottles in a shaded spot, direct sunlight degrades spirits and wine. An insulated cooler or low-profile outdoor cabinet protects contents from UV and heat.
General upkeep: Cover your bar with a weather-resistant cover during off-season or extended periods of non-use. In areas with harsh winters, drain any integrated water lines to prevent freeze damage. Clean out gutters or covers regularly if your bar is under a roof or pergola. Most bar failures come from poor drainage and accumulated moisture, so ensure water doesn’t pool on surfaces or trap water beneath the bar.